IP phones, VoIP ATA, softphones and much more. Almost all VoIP-enabled devices can be used with the Cloud PBX. The process of setup steps are always similar.
In the following, we would like to introduce you to this logic and give you a rough overview of the necessary steps. We have linked instructions for the numerous other features and options in the respective sections.
The structure of the Cloud PBX
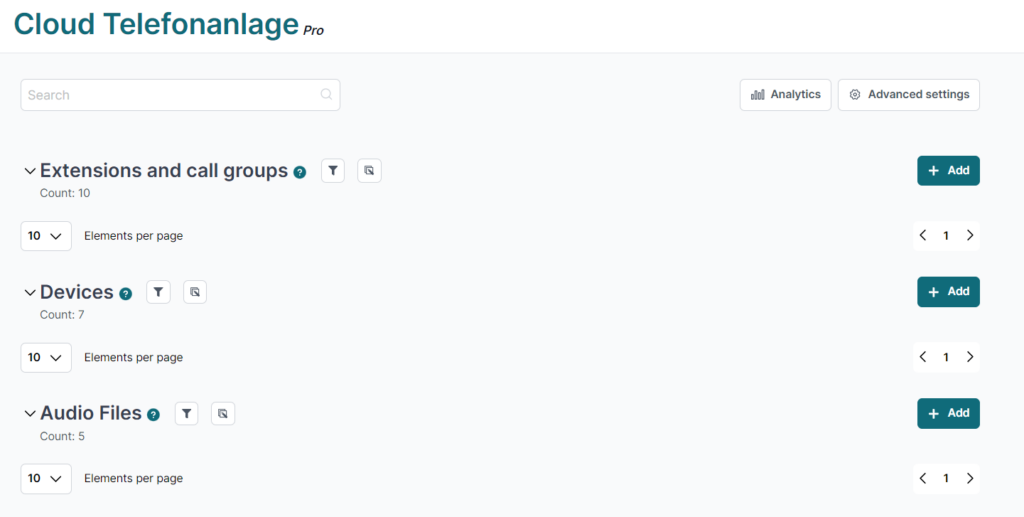
In the Cloud PBX, you will find two “connection points”:
- Extensions / call groups in the direction of the public telephone network,
- “Devices” towards your IP phones and other VoIP solutions.
To get maximum flexibility, these two parts are set up separately. You can link these parts according to your needs and make quick and easy adjustments at any time.
In the following, we will focus on the first basic setup steps.
Setup steps
1. Assign phone numbers
Please make sure that at least one phone number is assigned to your Cloud PBX. You will see this immediately in the overview of the telephone settings.
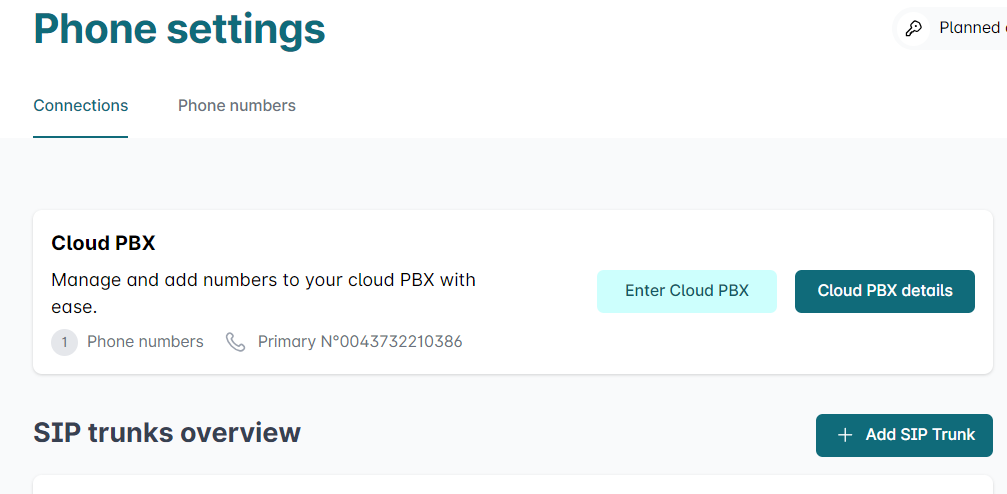
To assign phone numbers to the Cloud PBX, switch to the “Phone numbers” tab in the phone settings. Next to the phone number you want to use in the Cloud PBX, click on “View details”. In the next step you can (re-)assign the number.
For detailed instructions, please refer to “Assigning a phone number to a SIP trunk”.
2. Create extension
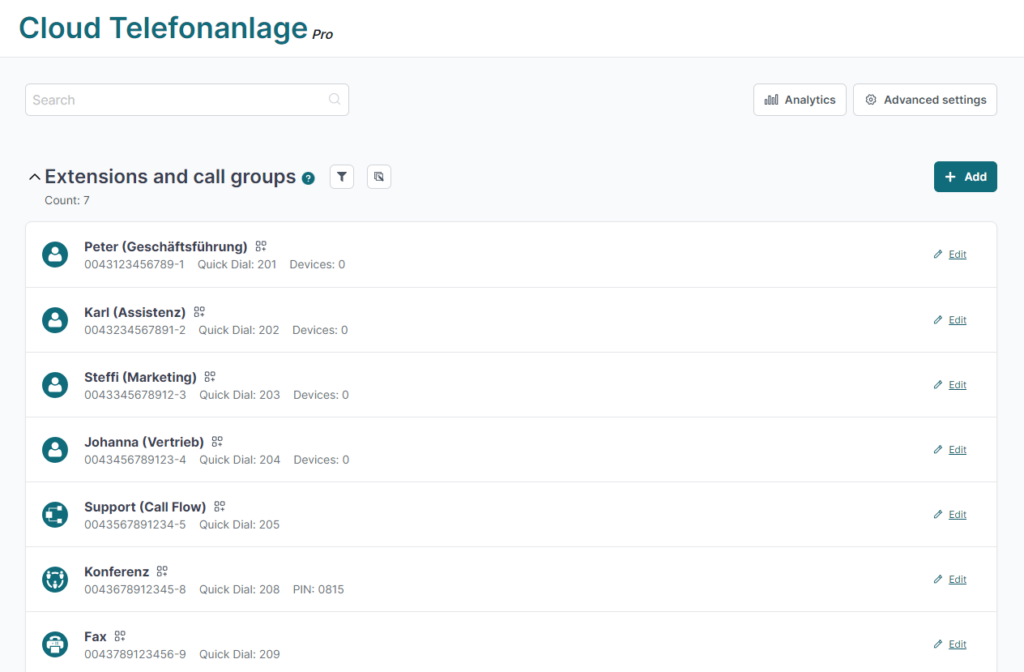
In the Cloud PBX, each extension or call group has a unique phone number or, in the case of number blocks, a unique combination of main phone number and extension number. You can assign these when you click on “+ add” in “Extension / Call group“.
By default, the mode “Call” is assigned, which stands for “regular” telephony. In the further course of this tutorial, we will assign one or more devices to the extension. If more than one device is assigned, we refer to it as a “call group”.
Besides “call”, other modes are also available for extensions: For example, as an interactive voice menu (IVR), to provide a conference call, or to receive a fax. You can also set up call forwarding and activate the answering machine at the extension level.
For detailed instructions, see “Creating extensions / call groups in the Cloud Telefonanlage“.
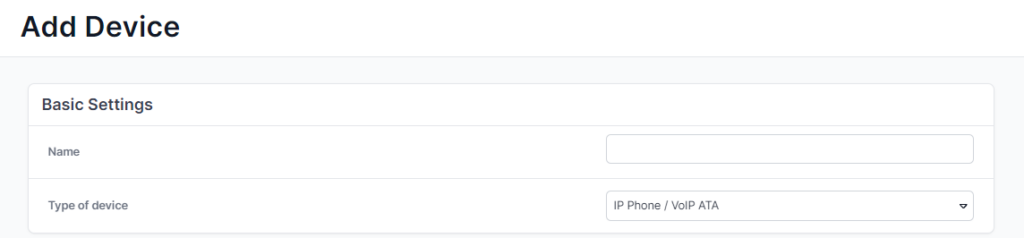
3. Create device
Next, your IP phones or other VoIP solutions need SIP credentials to connect to the Cloud PBX. To generate these, please click on “+add” in the “Devices” area.
Here, you can not only set up the caller ID, but also immediately assign one or more extensions that you created in the previous step.
Then you can generate the SIP credentials, which you can then use in your IP phone, software, app or even door opener.
We explain all the options in detail in “How to set up endpoints in the Cloud Telefonanlage“.
Have IP phones set up automatically (ACS)
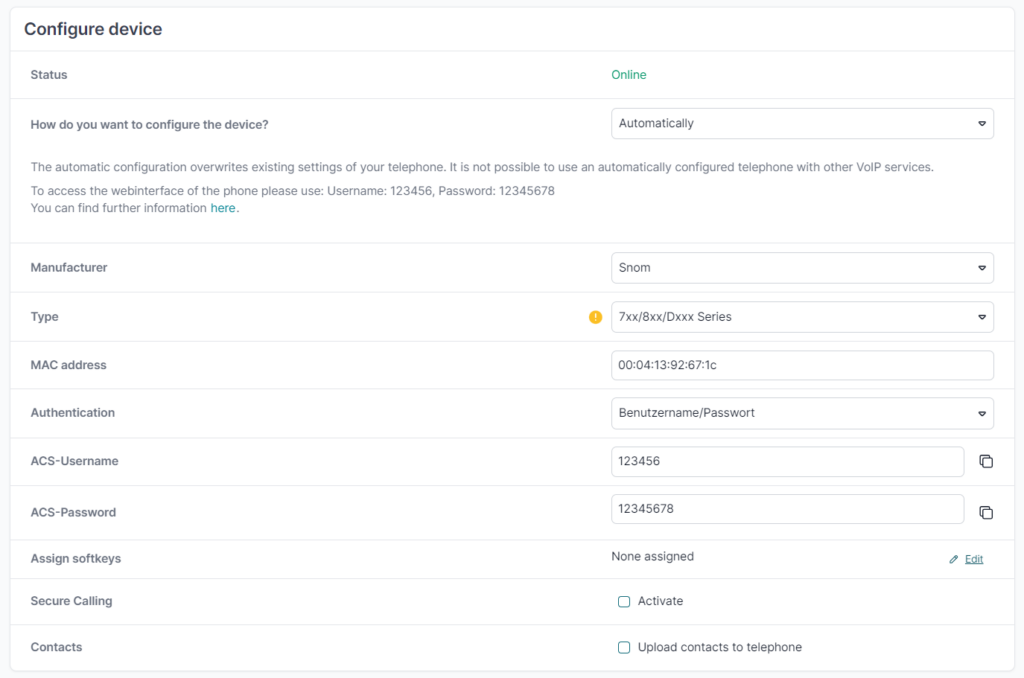
If you use IP phones from Gigaset, Htek, Snom or Yealink, you can easily provision the phone automatically with the ACS function. After that, all you have to do is (re)start the device and it will connect to the cloud PBX on its own.

4. Connect extension and devices
You have now connected a phone number to an extension and thus established access to the public telephone network (step 2). And your phones have SIP credentials to log into the Cloud PBX (step 3).
If this has not already been done, all that remains is to link these components together. There are two ways to do this:
- Under extension / call group: Edit extension (click on the cogwheel icon) → Under “Devices”.
- At the respective device: Edit device (click on the cogwheel icon) → at “Incoming telephony” Assign terminal
Adjust assignment later
Because of the division into extensions/call groups on the one hand and devices on the other, you can quickly and easily adjust and expand the routing later:
If the team grows, simply add the new devices to a call group. If someone is assigned new tasks, remove mappings that are no longer needed or assign new extensions.
Read more on this in “Cloud Telefonanlage: Connect Extensions & Devices”.